|
2004 Pilot timing belt DYI
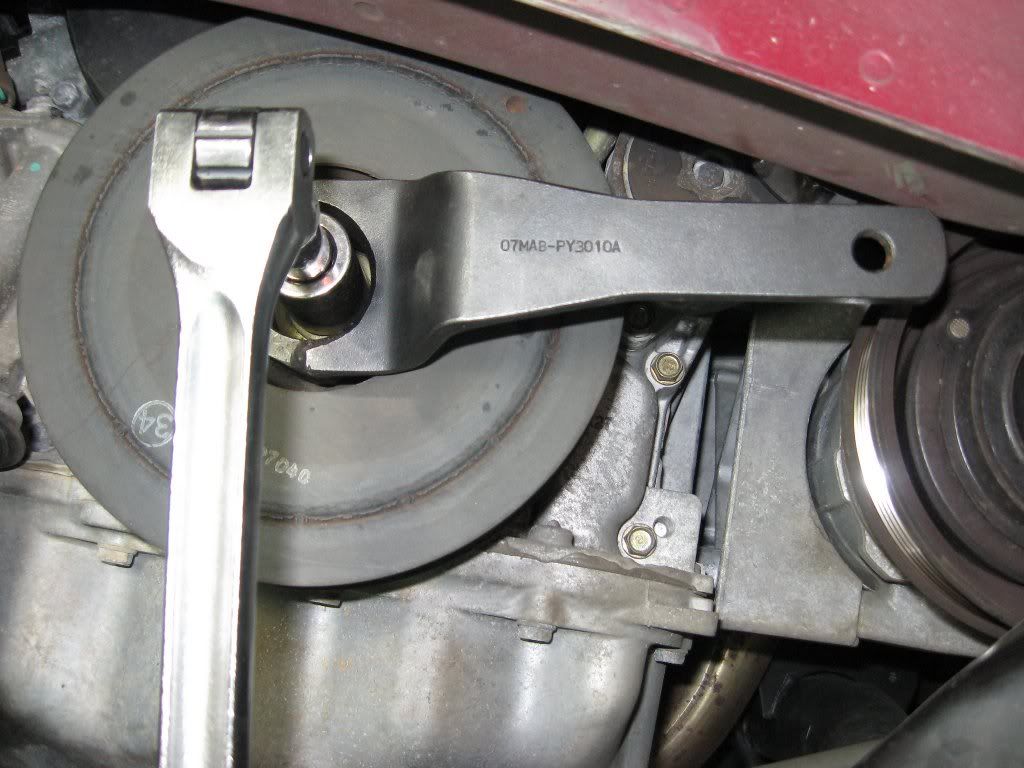
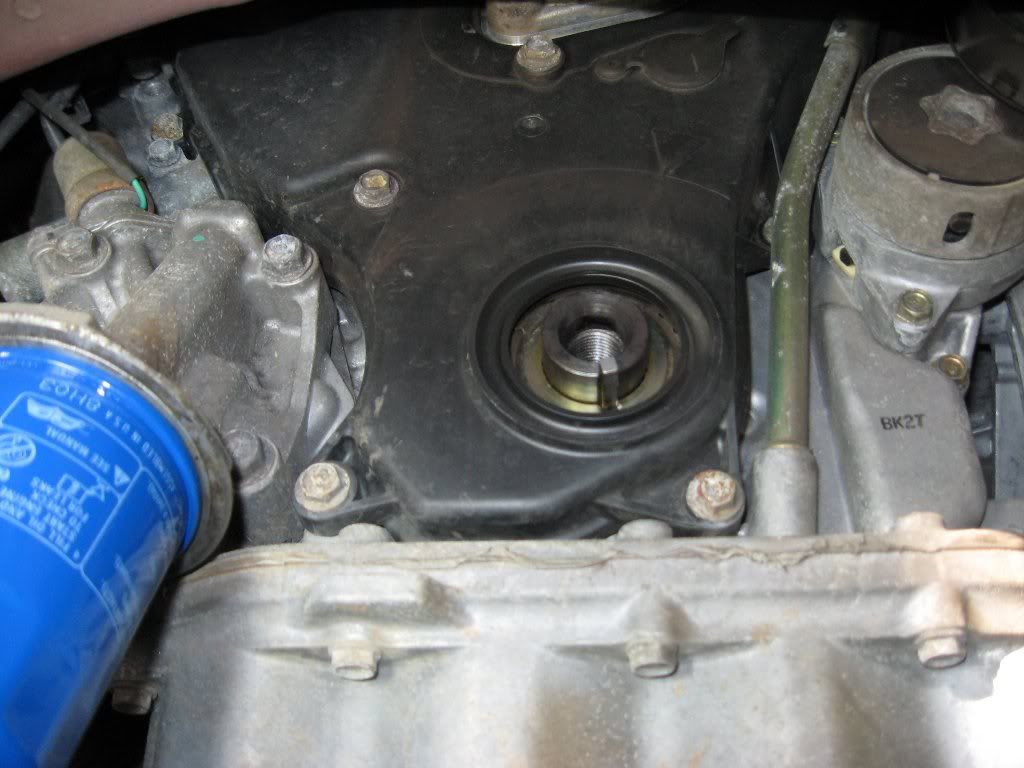
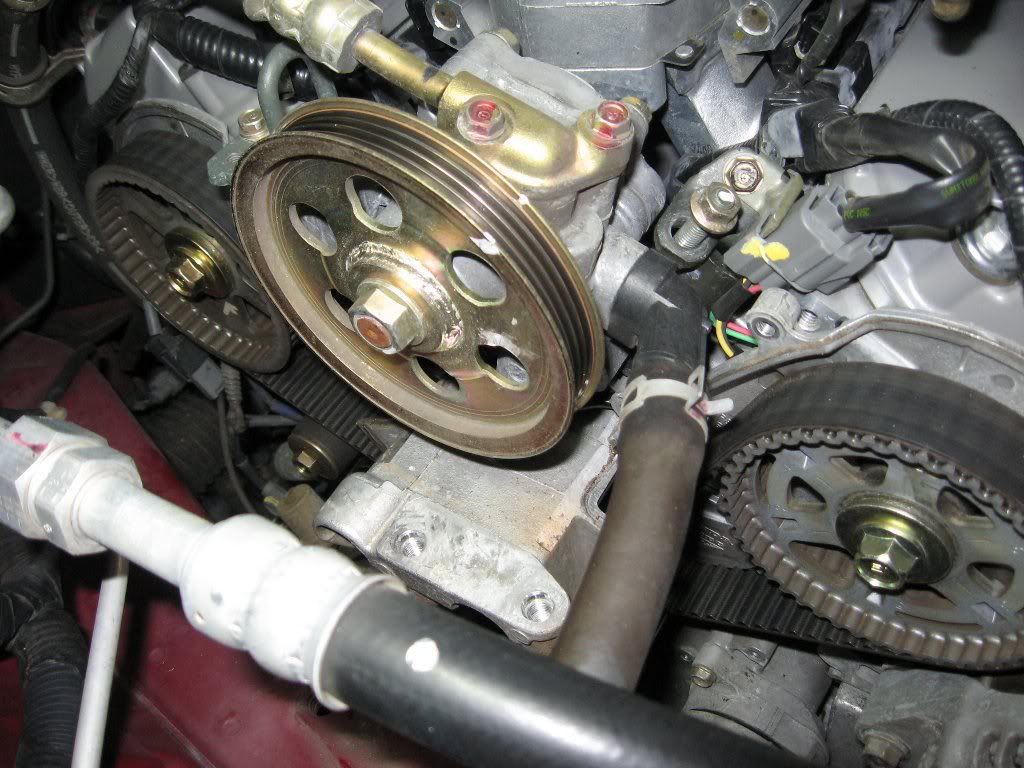
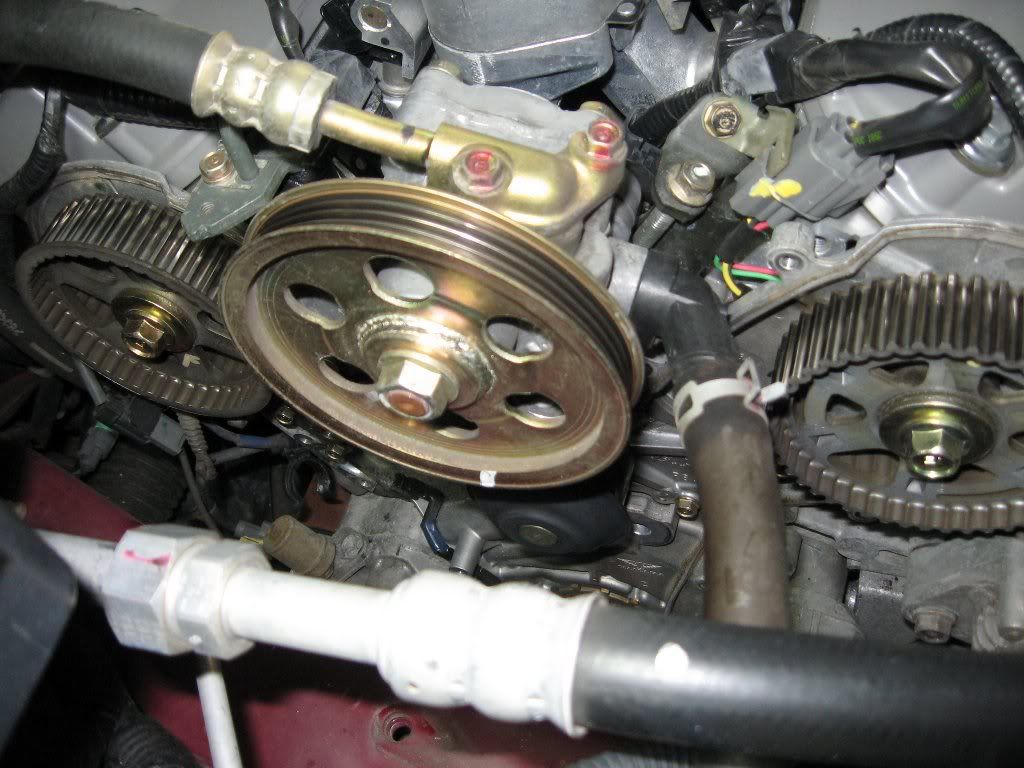
(for the 105,000 mile timing belt service) Parts List: -Timing belt: 14400-P8A-A02 -Adjuster automatic (hydraulic tensioner): 14520-P8E-A01 -Adjuster - timing belt: 14510-PGE-A01 -Idler pulley - timing belt: 14550-P8A-A01 (OR) 14550-PGE-A01 (there are 2 numbers listed) -Alternator/Compressor belt: 38920-P8F-A02 -Power steering belt: 56992-P8A-A01 -O-RING (8.8X1.9): 91302-GE0-000 -Fender trip clips (X7): 91501-S04-003 Procedure: -Remove tire and place the Pilot on a jack stand. -Remove the clips holding the fender liner and lower splash shield in place (x7) and fold them out of the way. -Make sure the #1 piston is on top dead center using the marks on the crank pulley and lower timing belt cover (19mm in the crank pulley). -Remove the Alternator-Compressor belt (14mm boxend) & Power Steering belt. (2-12mm and 1-12mm tensioner bolt) -Loosen the crank pulley. If you have an impact wrench or a long breaker bar it makes it easier to remove the bolt. You will also need a special tool crankshaft pulley holder (50mm) (19mm and special tool). -Remove the side engine mount bracket (5-14mm bolts). -Remove the crankshaft pulley. -Remove the oil dipstick & tube (10mm). -Remove the front & rear 'upper covers' of the timing belt housing, moving the wire harness out of the way first (5-10mm bolts for each cover). -Remove the lower cover (7-10mm bolts). -Remove the engine mount bracket that is bolted to the block (3-14mm bolts). -Remove the hydraulic tensioner (2-10mm bolts). -Remove the tensioner pulley (you will reuse the inner sleave) (14mm bolt). -Remove the idler pulley bolt (14mm bolt with thread locker on it) (I used Loctite 242 during the reinstall because I had it on the shelf). -Remove the timing belt. -Before installing a new timing belt, make sure the pulleys, belt guide plate, upper & lower covers are clean and check to see if the crank and cams have rotated (mine did not move). -The install is the reverse order of removal (make sure you torque everything correctly!) -The removal of the lock pin in the hydraulic tensioner gave me a little trouble so I used pliers. -Once the crank pulley is back on, check the lower timing mark (and the cam marks) before the top covers are installed. Photos: Looking from above showing the accessory belts removed along with the motor mount.
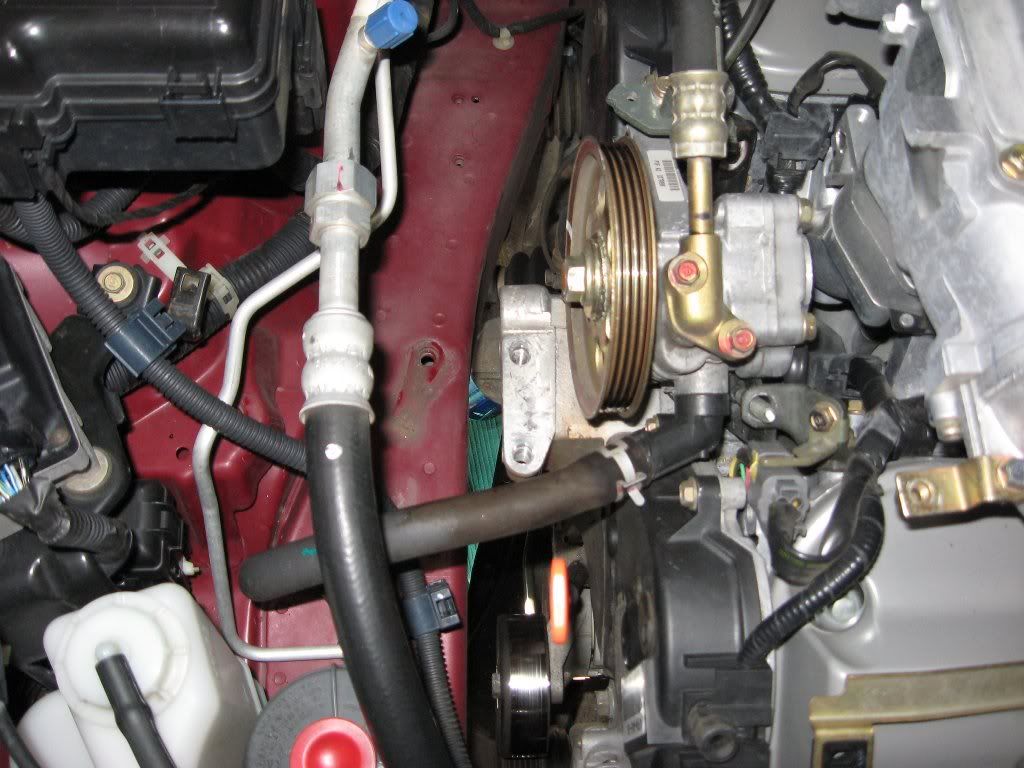
Side view showing same including the lower cover
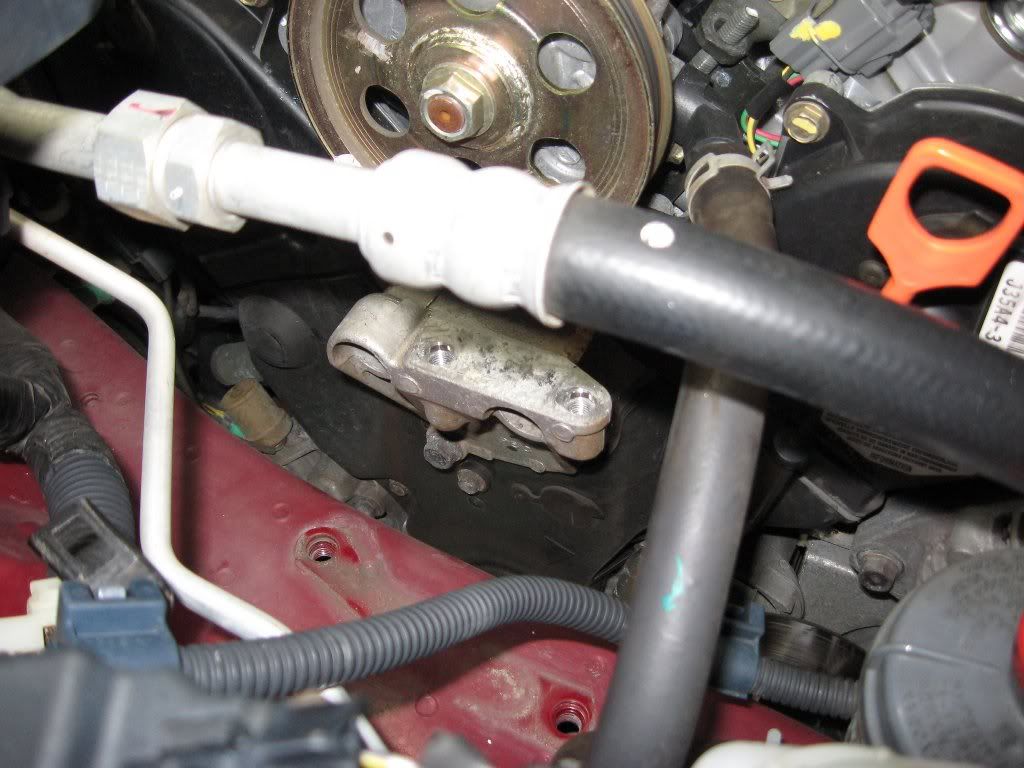
Crank pulley bolt removal (loosen the bolt before removing the motor mount!)

Close up
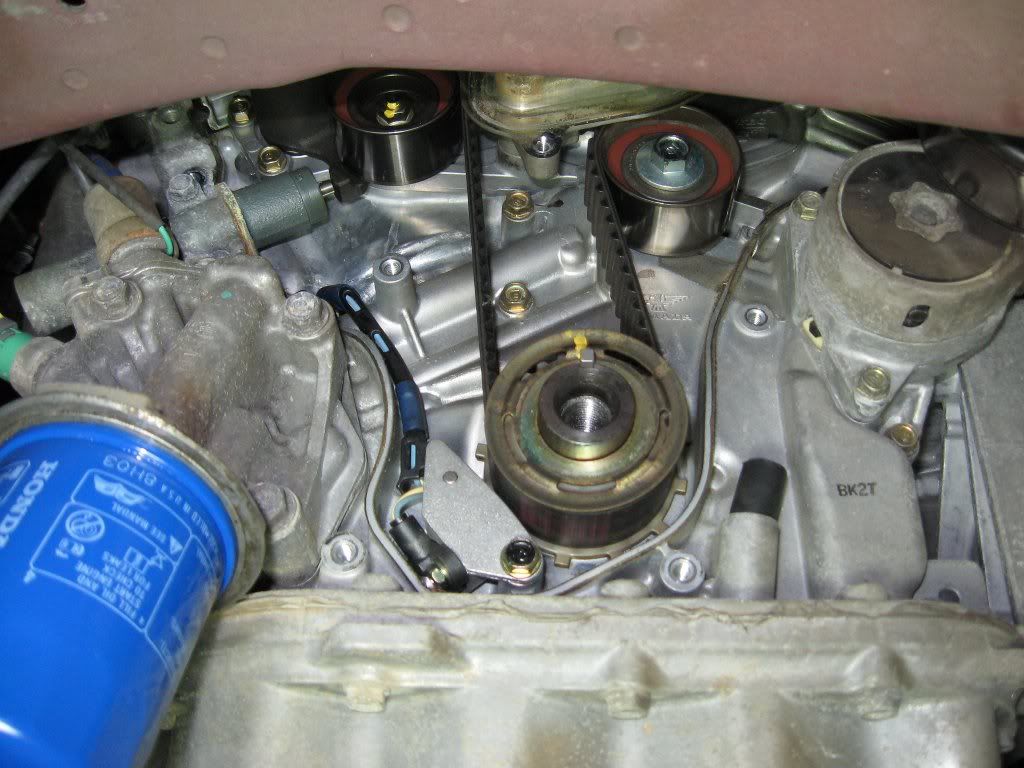
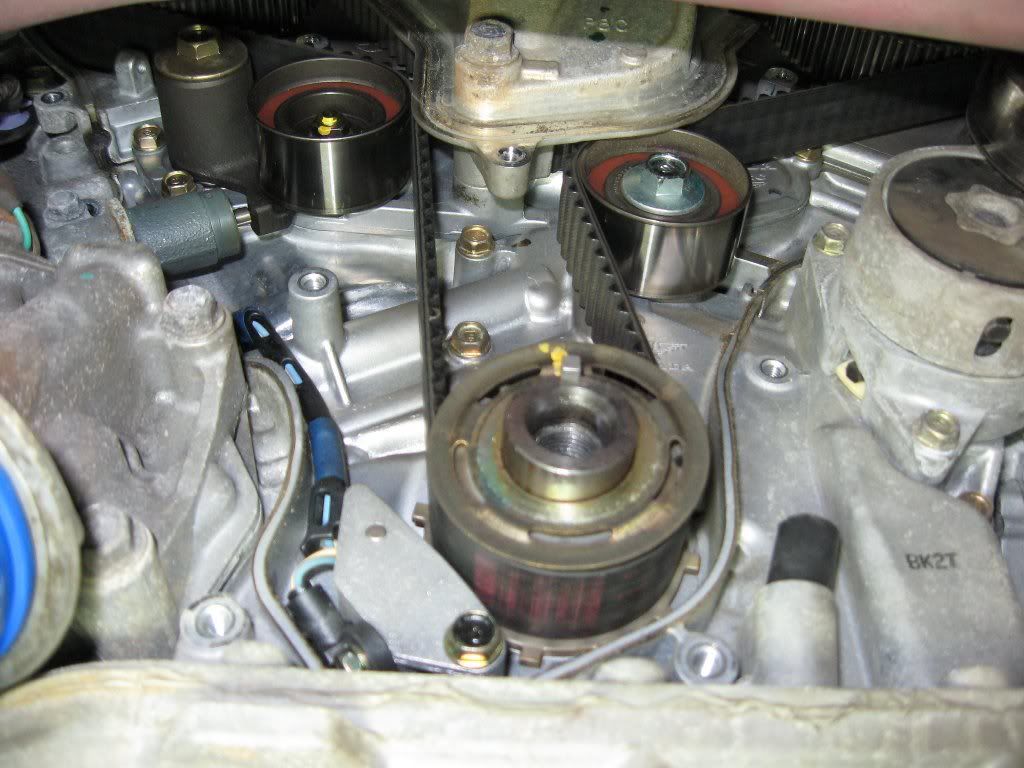
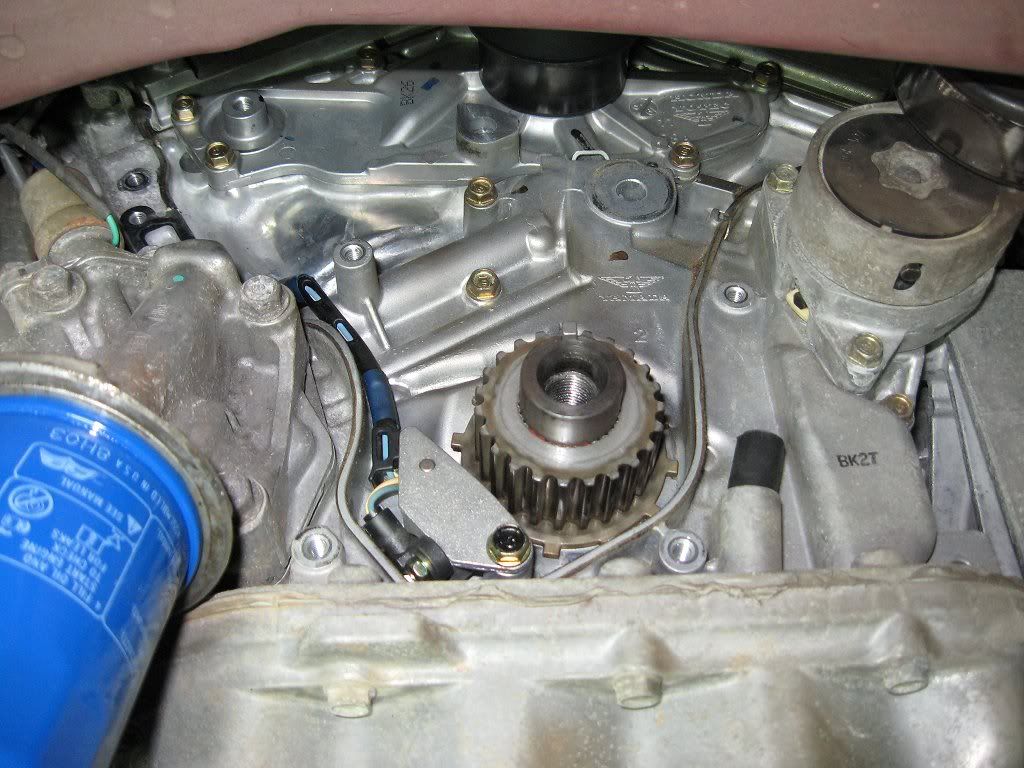
Lower cover showing crank end and lower part of the dipstick tube (hydraulic tensioner can be seen behind VTEC solenoid) (crank timing mark can also be seen)
Upper and lower covers removed (12mm power steering adjuster nut shown)
Lower cover removed (rubber plug in the dipstick opening to prevent trash from falling in)
Different angle to show both 14mm pulley bolts
Shop Goodyear® Tires
Buy Tires Online
The Goodyear® Tire Finder
Get Tips for Tire Buying
   Powered by Swoop
__________________
1984 Volvo 242Ti (repairs are underway...) 1997 MB C280 (needs a little TLC) 2004 Pilot  EX EX2008 Fit Sport |
||||||||||||||||||||||||||||||||
 |
  |
| Sponsored Links | |||
|
Advertisement
|
|
||
 03-09-2010, 11:57 AM 03-09-2010, 11:57 AM |
#2 (permalink) | ||||||||||||||||||||||||||||||
|
Registered User
Join Date: Feb 2008
Location: Charlotte
Posts: 68
Feedback Score: 0 reviews
|
Top view showing timing belt, tensioner, and pulleys off
Top view showing water pump. Also showing the belt, pulleys, and tensioner removed

Bottom view showing the belt, pulleys, and tensioner removed
Bolt (silver one closer to the front of the block) with thread lock

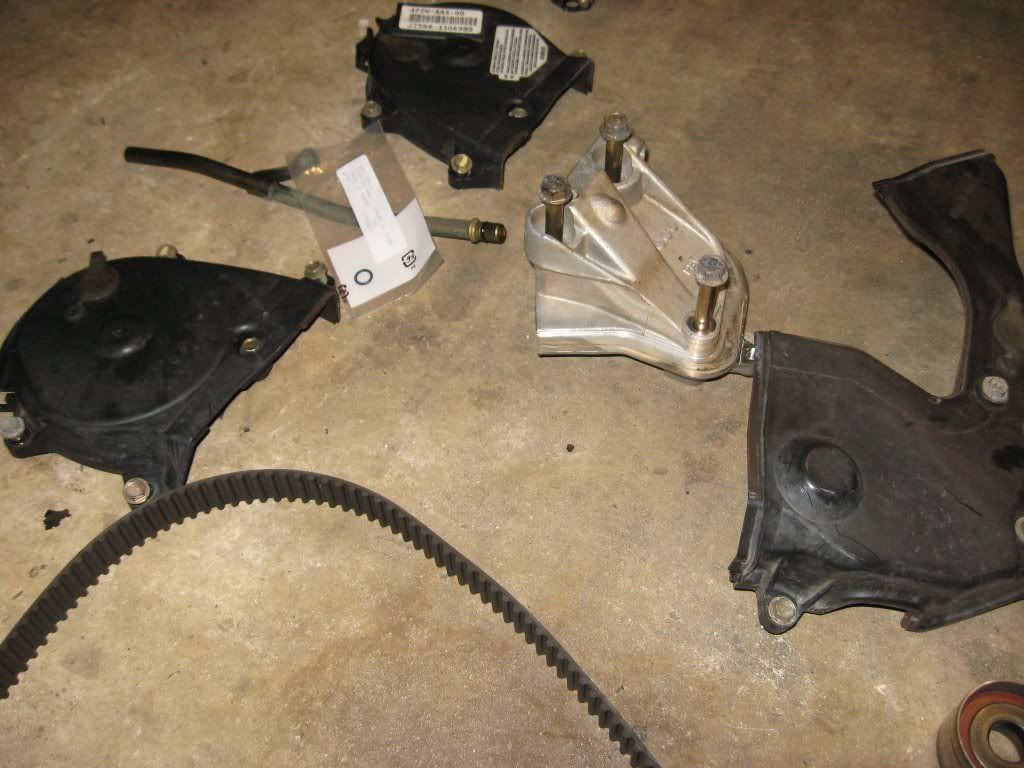
Old parts and removed parts
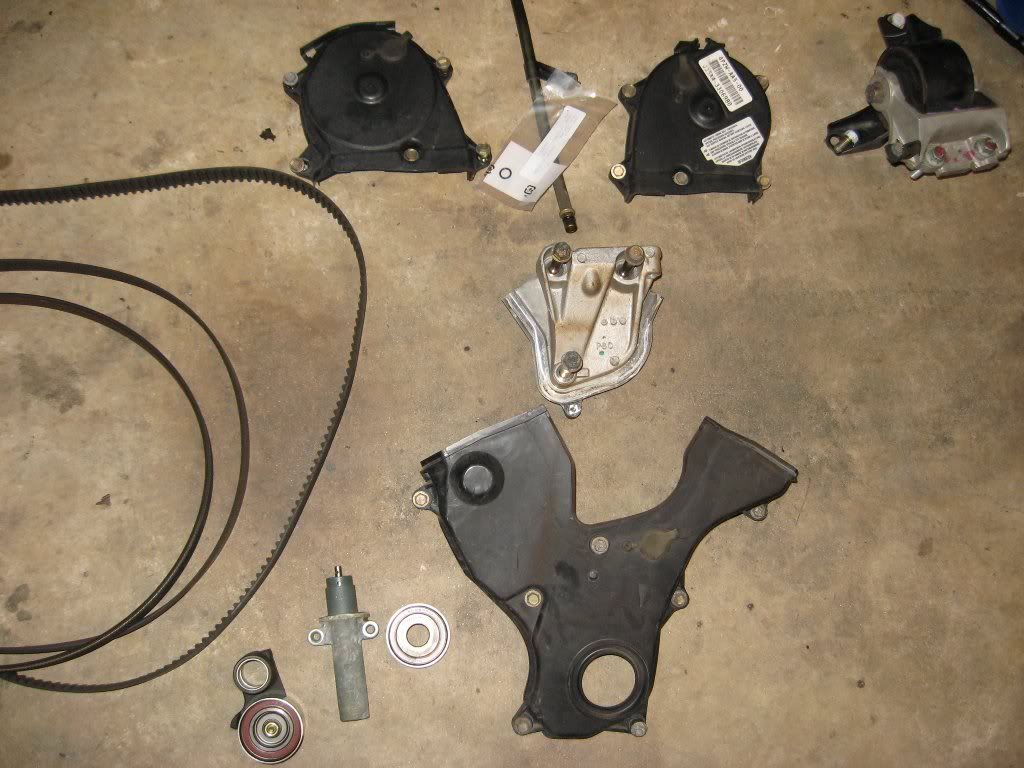
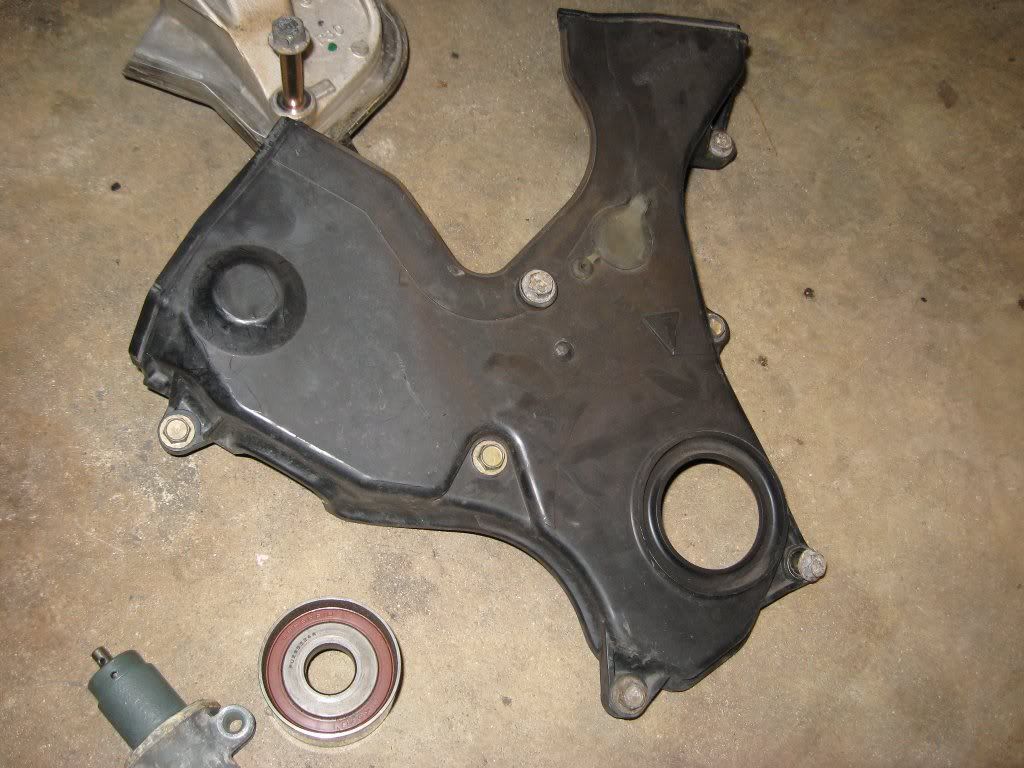
Old parts, lower cover, motor mount
Covers, mount, dipstick (and new o-ring)
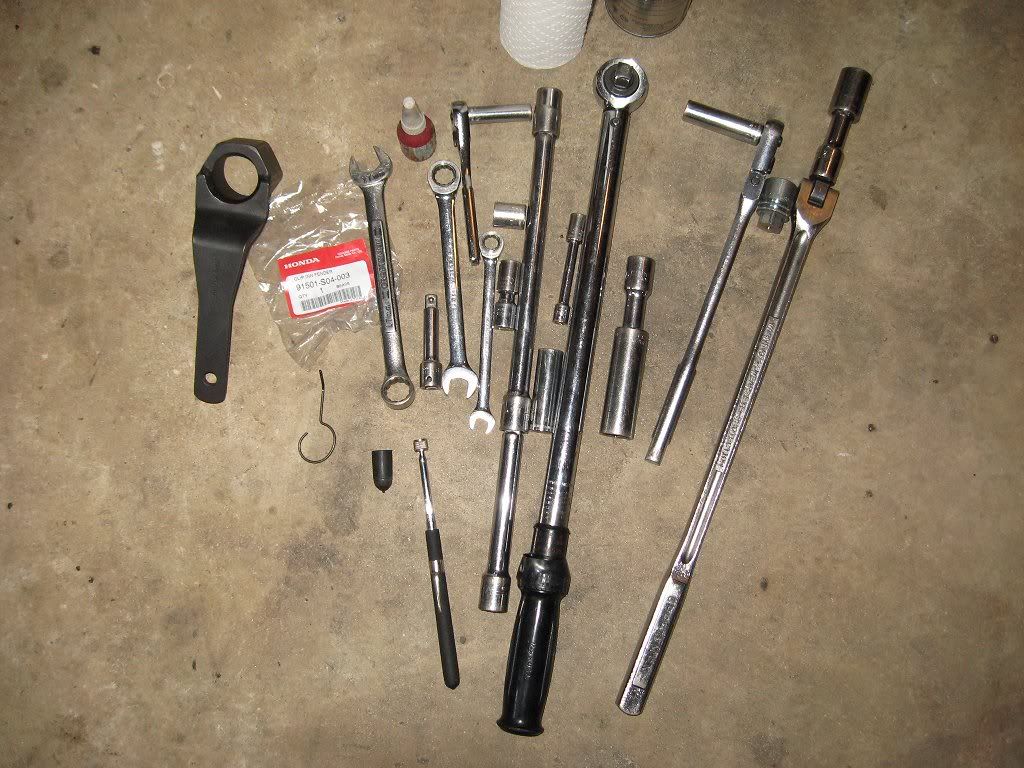
Various tools used (bag shows the part number for the trim clips)
 |