


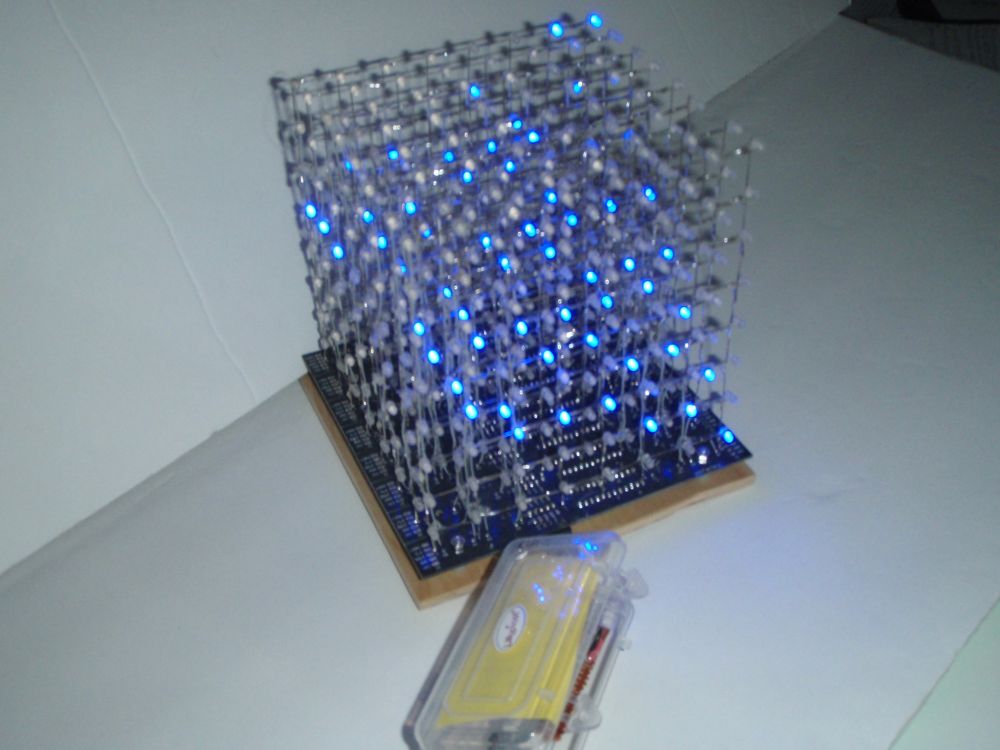
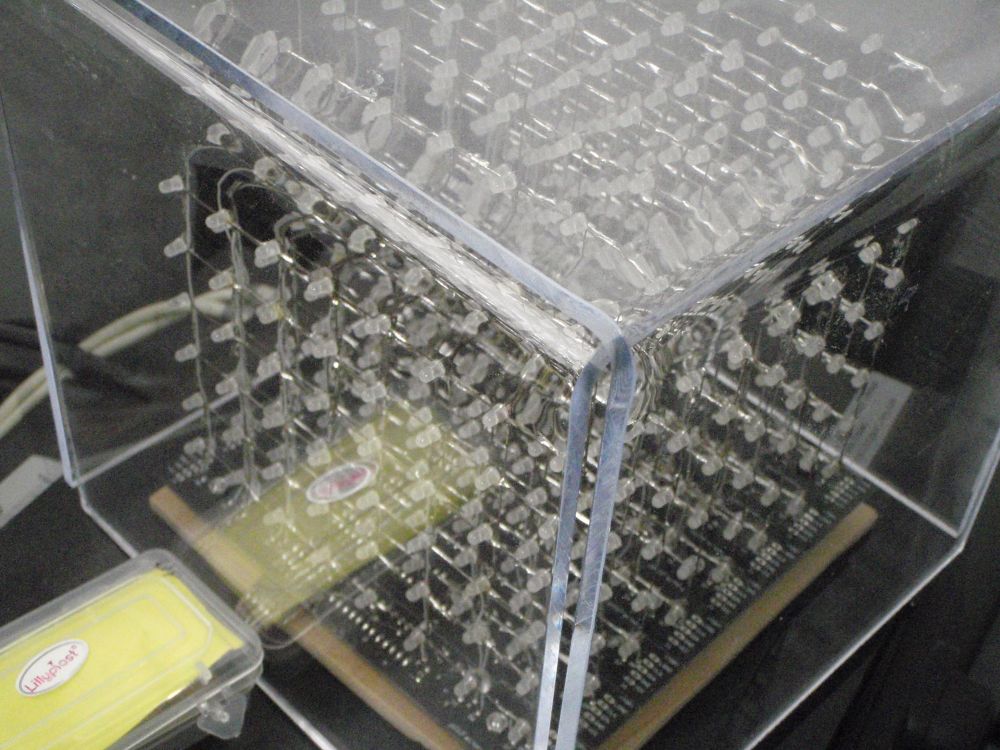
Finished project:
 Videos:
These 3 videos are only part of the samples privided by the vendor.
Materials:
1. An 8x8x8 LED cube kit, called "jolliCube – 8x8x8 LED Cube" (I don't know if putting the link here is a violation on Wenxuecity's Ads policy. So I did not put the link here).
2. 512 pieces LEDs (3 mm or 5 mm in diameter, not shorter legged. I used 3 mm Blue LED, you could choose LEDs with some other colors).
3. One piece of wood board.
4. A drill.
5. A drill bit.
6. A solder iron.
7. Solder (no lead).
Warning: be careful when soldering, Wear protective glasses and an N95 mask. You should solder LEDs or other components in a ventilated place. Avoid inhalation of fume from rosin. When heated, rosin forms formaldehyde fume which is toxic. I use a suction fan.
Costs:
$50 (item 1, 2 and 3 only)
Time:
Around 40 hours.
Procedures:
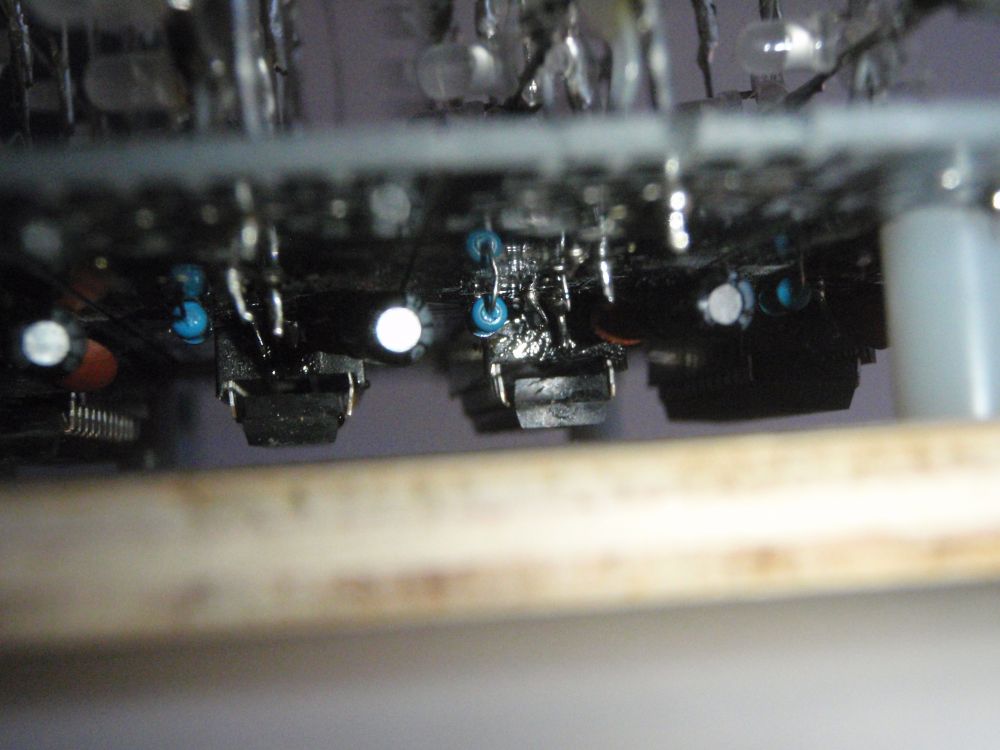
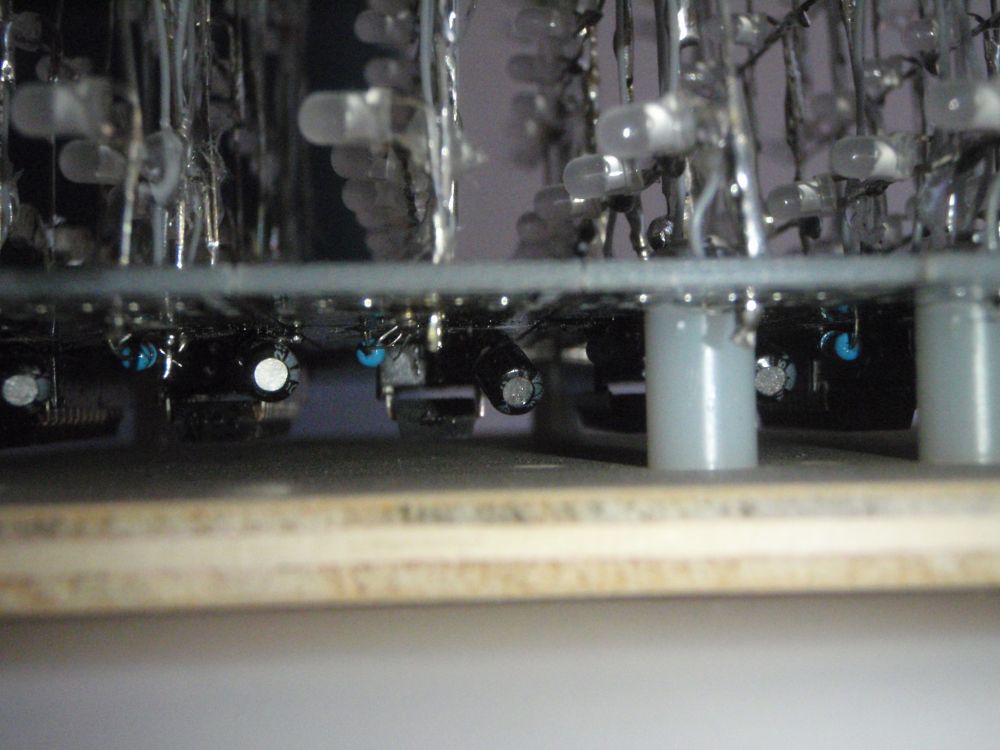
1.Solder 8 chips (each chip has 24 pins) and other components on the print circuit board. 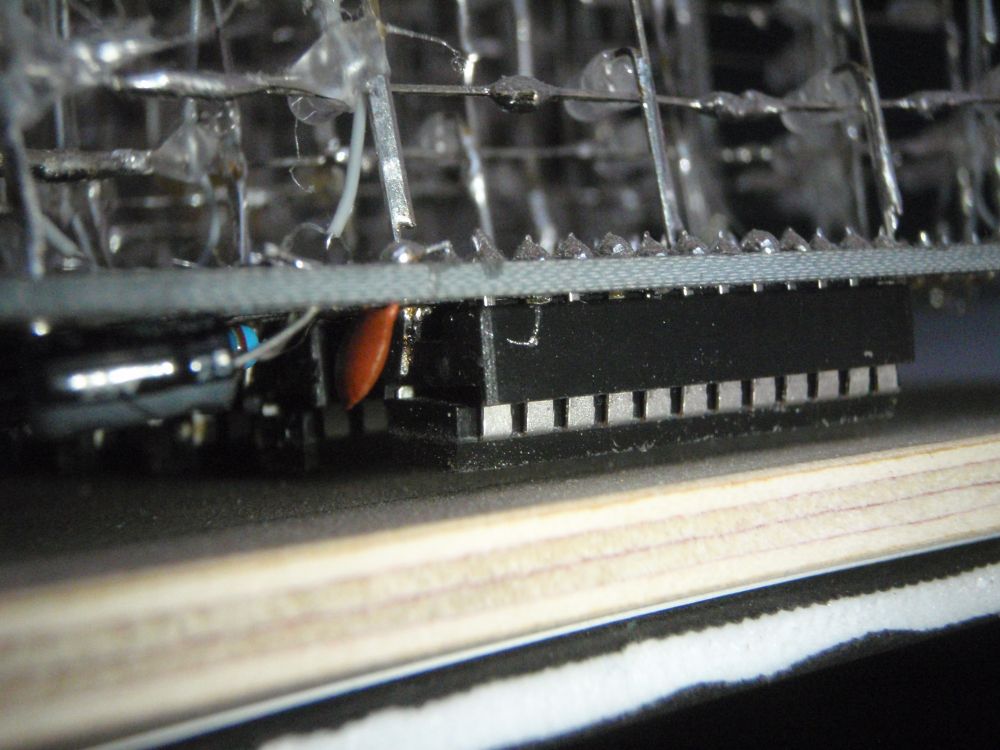
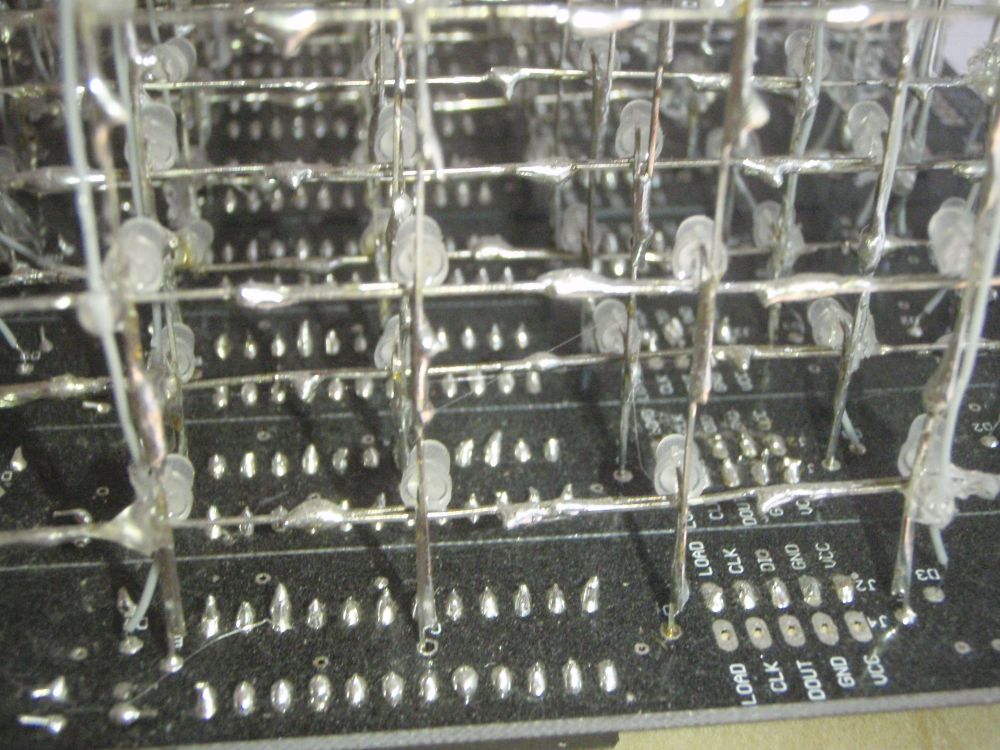
2. Drill 64 holes on a wood board (the hole diameter is either 3 mm or 5 mm depends on the LED size).

3. Make one panel of 8x8 LED: Solder 8x8 LEDs fixed in the holes on the wood board. You need to repeat this for 8 times. So the total LEDs are 512.
4. Solder 8 panels of 8x8 LED on the circuit board.
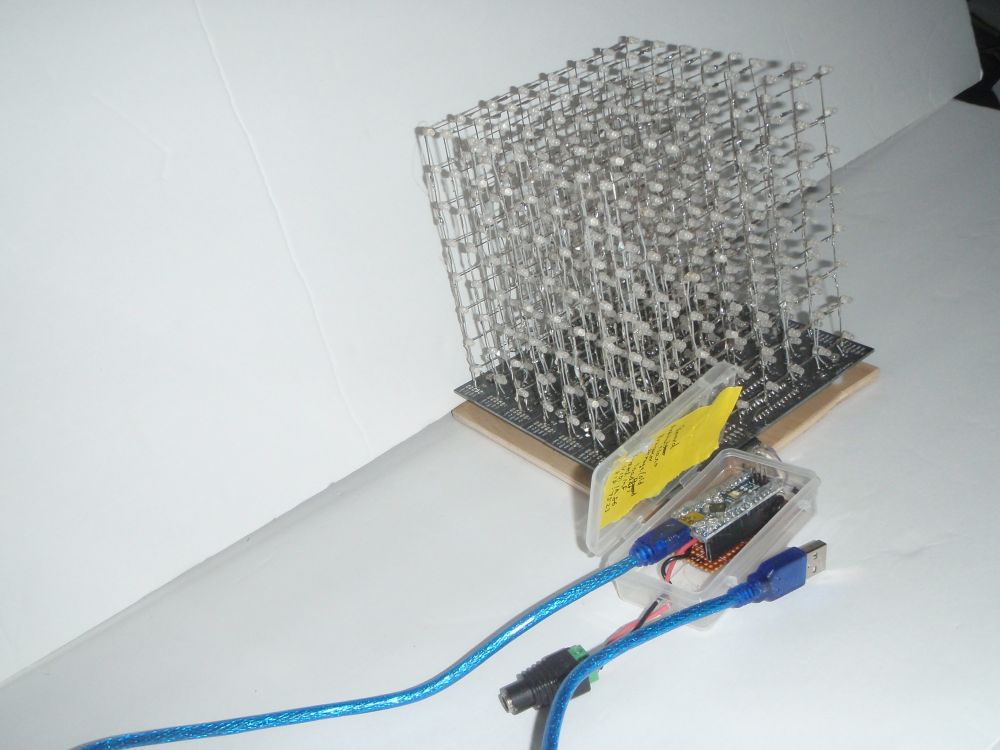
5. Connect the board to an Arduino Nano board.
6. Connect the Arduino Nano board to a PC or Apple via a USB cable.
7. Goto Arduino you installed on your PC or Apple (how to download, install and use: https://blog.wenxuecity.com/myblog/40376/202308/172.html)
8. Open the company's link, get the sample code.
9. Load the code in Arduino.
10. Choose the board as Arduino Nano.
11. Choose the port as COM3 or larger number of COM port in your computer.
12. Choose the processor as AtMega old loader.
13. Modify the words you want to display. I used "HELLO! BON VOYAGE" (you could use maximum 17 letters).
14. Compile the code. You will get the display.
15. You could disconnect the project from your computer, use a 5V 2A DC power supply to power the project.
Thank you,