


正文
小總一下笨熊2000和我發過有關給照片做鉛筆畫效果的內容,以做參考.
==================================
來自笨熊2000:
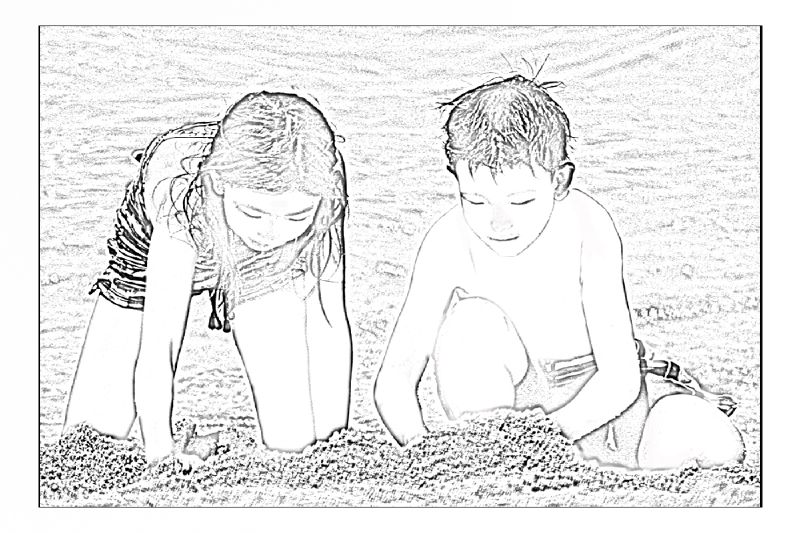
方法:
1:先調一下LEVEL
2:去色
3:複製兩層
4:第三層作反轉
5:選第三層為“LINEAR DODGE”
6:FILTER/BLUR/GAUSSIAN BLUR -- 調一下
7:MERGE 第二,三層
8:再複製合後的第二層
9:選第三層為“MULTIPLE”
10:再用FILTER/BLUR/GAUSSIAN BLUR 調點陰影出來
11:MERGE 所有LEYER
=================================
來自水印:
方法:
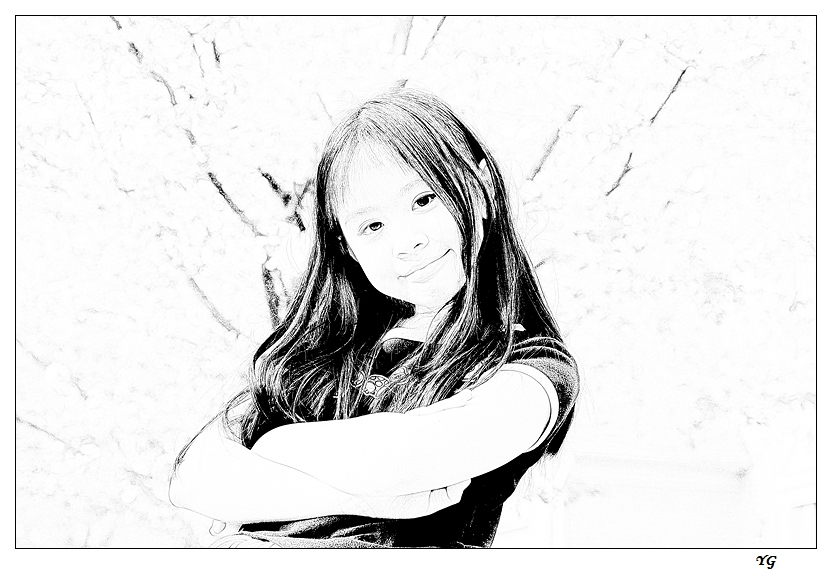
1.open image
2.copy layer
3.invert copied layer
4.change copied layer into "color dodge" mode, now you'll only see white on screen
5.do gaussian blur to copied layer with radius 1.5-4
6.flat layers
===============================
冒昧轉貼,希望熊兄不會介意.
==================================
來自笨熊2000:
方法:
1:先調一下LEVEL
2:去色
3:複製兩層
4:第三層作反轉
5:選第三層為“LINEAR DODGE”
6:FILTER/BLUR/GAUSSIAN BLUR -- 調一下
7:MERGE 第二,三層
8:再複製合後的第二層
9:選第三層為“MULTIPLE”
10:再用FILTER/BLUR/GAUSSIAN BLUR 調點陰影出來
11:MERGE 所有LEYER
=================================
來自水印:
方法:
1.open image
2.copy layer
3.invert copied layer
4.change copied layer into "color dodge" mode, now you'll only see white on screen
5.do gaussian blur to copied layer with radius 1.5-4
6.flat layers
===============================
冒昧轉貼,希望熊兄不會介意.
| 所有跟貼: | ||||||||||||||||||||||||||||||||||
| ||||||||||||||||||||||||||||||||||

評論
目前還沒有任何評論
登錄後才可評論.