一名D70用戶
一個無聊且不懂藝術的工程師,碰巧買了個尼康D70,從此便開始了他的業餘藝術生涯。曾用名:kevin.g


先感謝@_@的摘錄,我在其摘錄的基礎上對此技法做了簡化和改進,使之更加靈活簡單,並結合自己的圖做了以下嚐試。
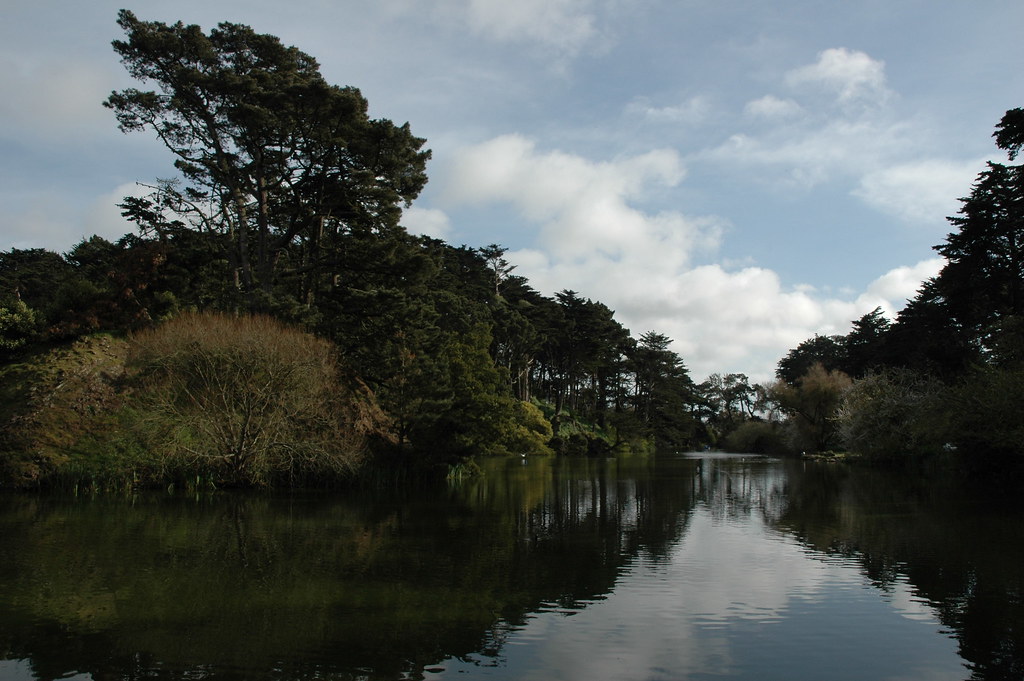
參考圖,為了保護highlight, 犧牲了shadow.
用了以下描述的方法,改善了shadow. 如將相機放在腳架上用bracket的方法連續照兩張,則會更理想。此法比HDR強的地方是不用全圖取平均值,因此會更有效的保護細節。

步驟基於PS CS2
1) "Ctrl+j " to make a new layer:
You will see “Layer 1" on top of “Background” layer in the layer palate. Layer 1 is highlighted in the layer palate that means now you are at layer 1.
2) "Ctrl+Alt+~" or “Ctrl+Alt+1/2/3" to select the highlight area. “Ctrl+Alt+~” to select less, “Ctrl+Alt+3" to select more. You will see the selection after you do the “"Ctrl+Alt+~/1/2/3"
3) Go to the layer palate, hold down the “Alt” key and click “Add layer mask” icon which is a white circle inside a grey square. You will see the layer mask thumbnail showing up at the right side of Layer 1 thumbnail in the layer palate.
4) Click “Layer 1" thumbnail at the left side of the layer mask thumbnail in the layer palate, you will see the white highlight surrounding the thumbnail moving to the left that means you are at Layer 1 instead of the layer mask of Layer 1. Then hold down the “Alt” key and click “Create new fill or adjustment layer” icon which is half white half black circle to select “Curves”. As a consequence, you will see a pop up window showing up. Check the box of “Use Previous Layer to Create Clipping Mask” in the pop up window. Finally you can tune the curve as what it is desired.