This is my biggest home DIY project so far! I have replaced the vinyl floor in the second full bathroom DIY! See the pictures: 1. Full View:  2. Left Side View: 2. Left Side View:
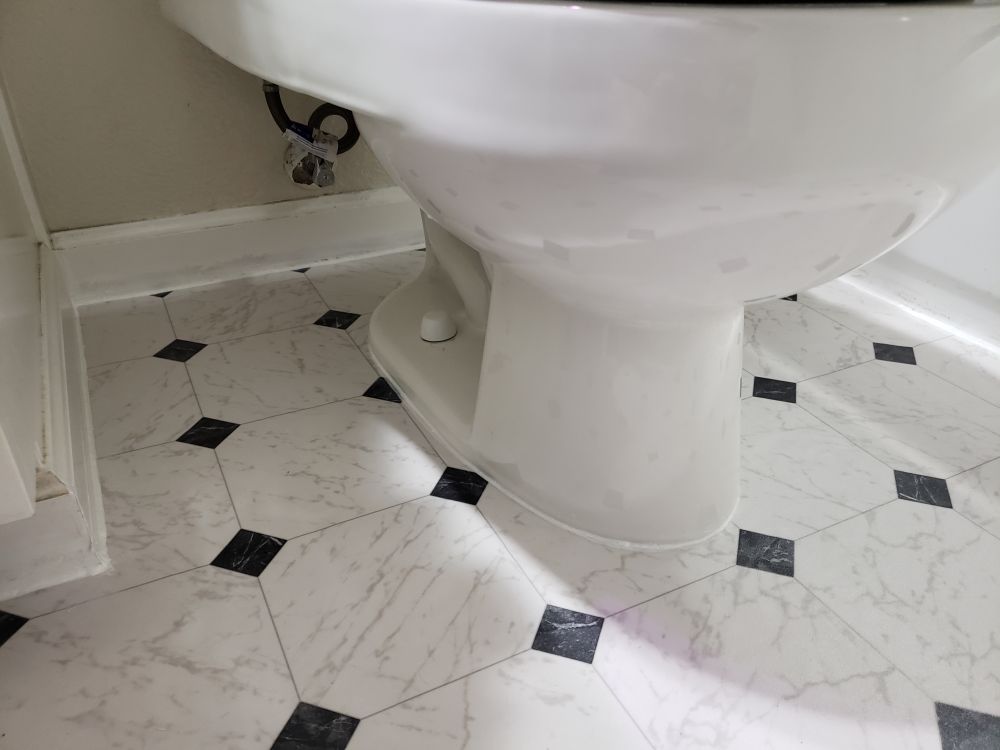
 3. Toilet Bowl Area View: 3. Toilet Bowl Area View:
4. Straight Frontal View: 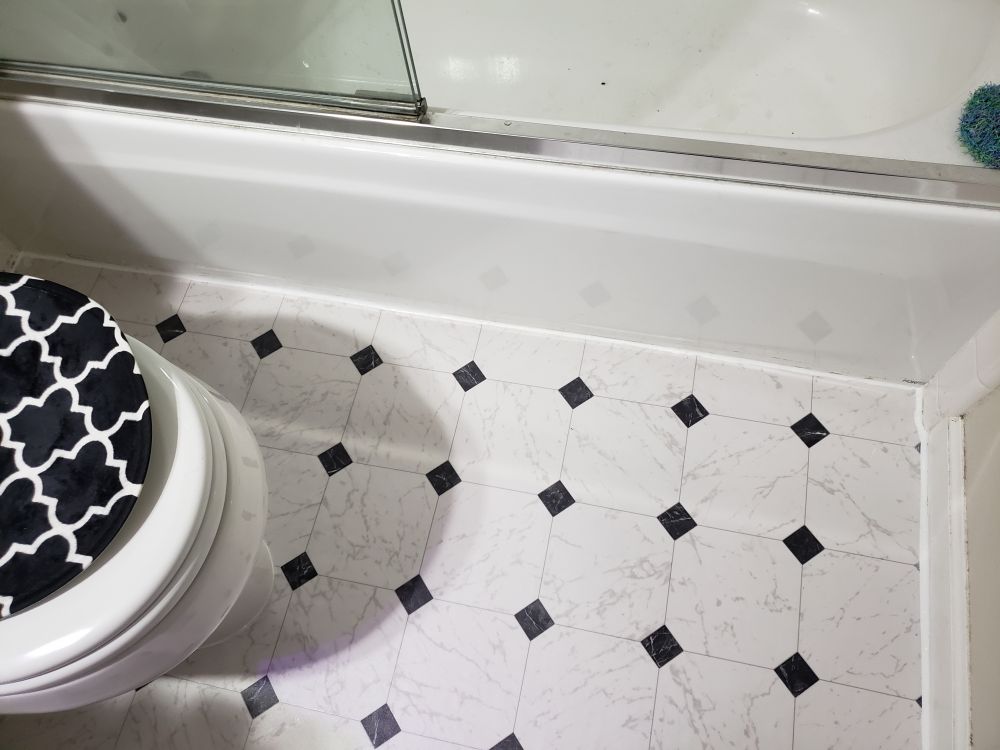
5. Right Side View: 
6. Door Edge View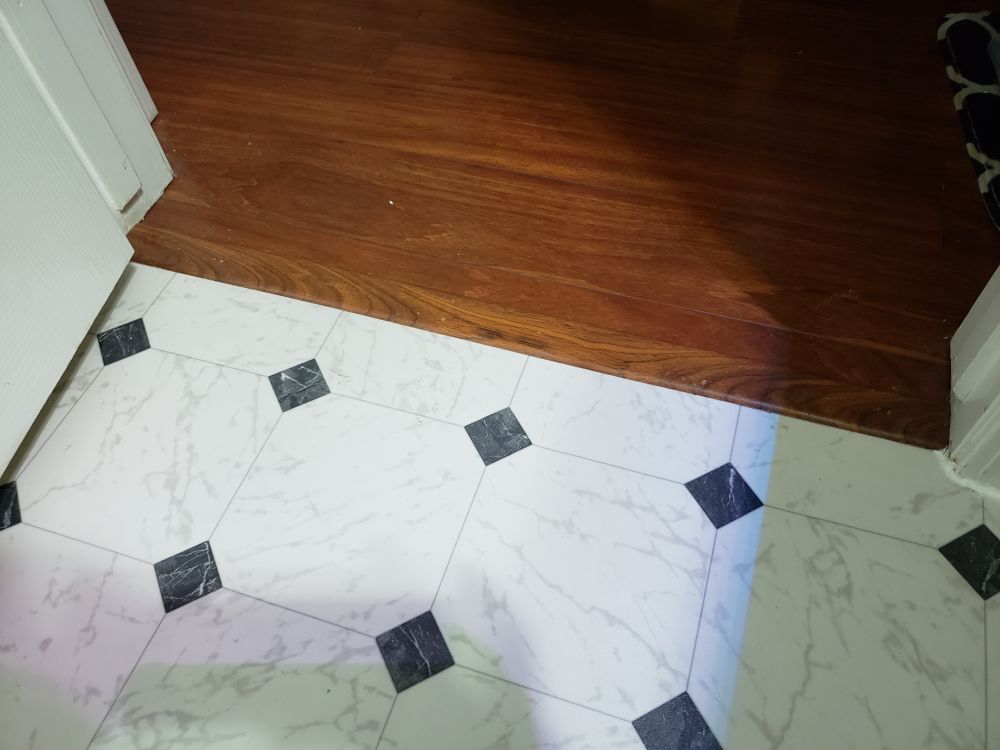 Lessons learned: 1. Remove baseboard before doing this. That way you only need to caulk one side (the bathroom side). Otherwise you have to caulk all sides! When baseboards are put back, they cover the gap between vinyl and wall so you do not need to caulk! 2. When applying the glue after final cuts of edges, do it one half at a time. Then stand on the other half (that has glue and vinyl is placed down already) to apply glue to other side. That way vinyl does not loose its alignment! 3. Use finger nail to smooth out caulk! Not finger tip! 4. Do not have to remove the old vinyl (but I did!) 5. Since the area is so small (5' x 5'), one could use the "loose lay" installation method, which only needs an "X" using vinyl tape (instead of full installation which calls for glue in the whole area) for affixing to the subfloor! |